
Building RESTful APIs with Spring Boot, In the world of modern software development, RESTful APIs have become a standard way for web services to communicate. If you are interested in “Building RESTful APIs with Spring Boot,” you have come to the right place. This comprehensive guide will take you step-by-step through the process of creating robust and efficient RESTful APIs using the Spring Boot framework.
What is a RESTful API?
Before we dive into “Building RESTful APIs with Spring Boot,” it’s essential to understand what a RESTful API is. R
EST (Representational State Transfer) is an architectural style that makes use of standard HTTP methods to provide interoperability between computer systems on the internet. RESTful APIs use HTTP requests to perform CRUD (Create, Read, Update, Delete) operations on data.
The primary goal of RESTful APIs is to create a standardized approach for applications to communicate with each other, ensuring simplicity, scalability, and high performance. By building RESTful APIs with Spring Boot, developers can create robust and easy-to-maintain services with minimal configuration.
Why Spring Boot for Building RESTful APIs?
“Building RESTful APIs with Spring Boot” offers a streamlined and productive approach to developing APIs. Spring Boot is an extension of the popular Spring framework, and it makes developing applications quicker by reducing boilerplate code and simplifying configuration.
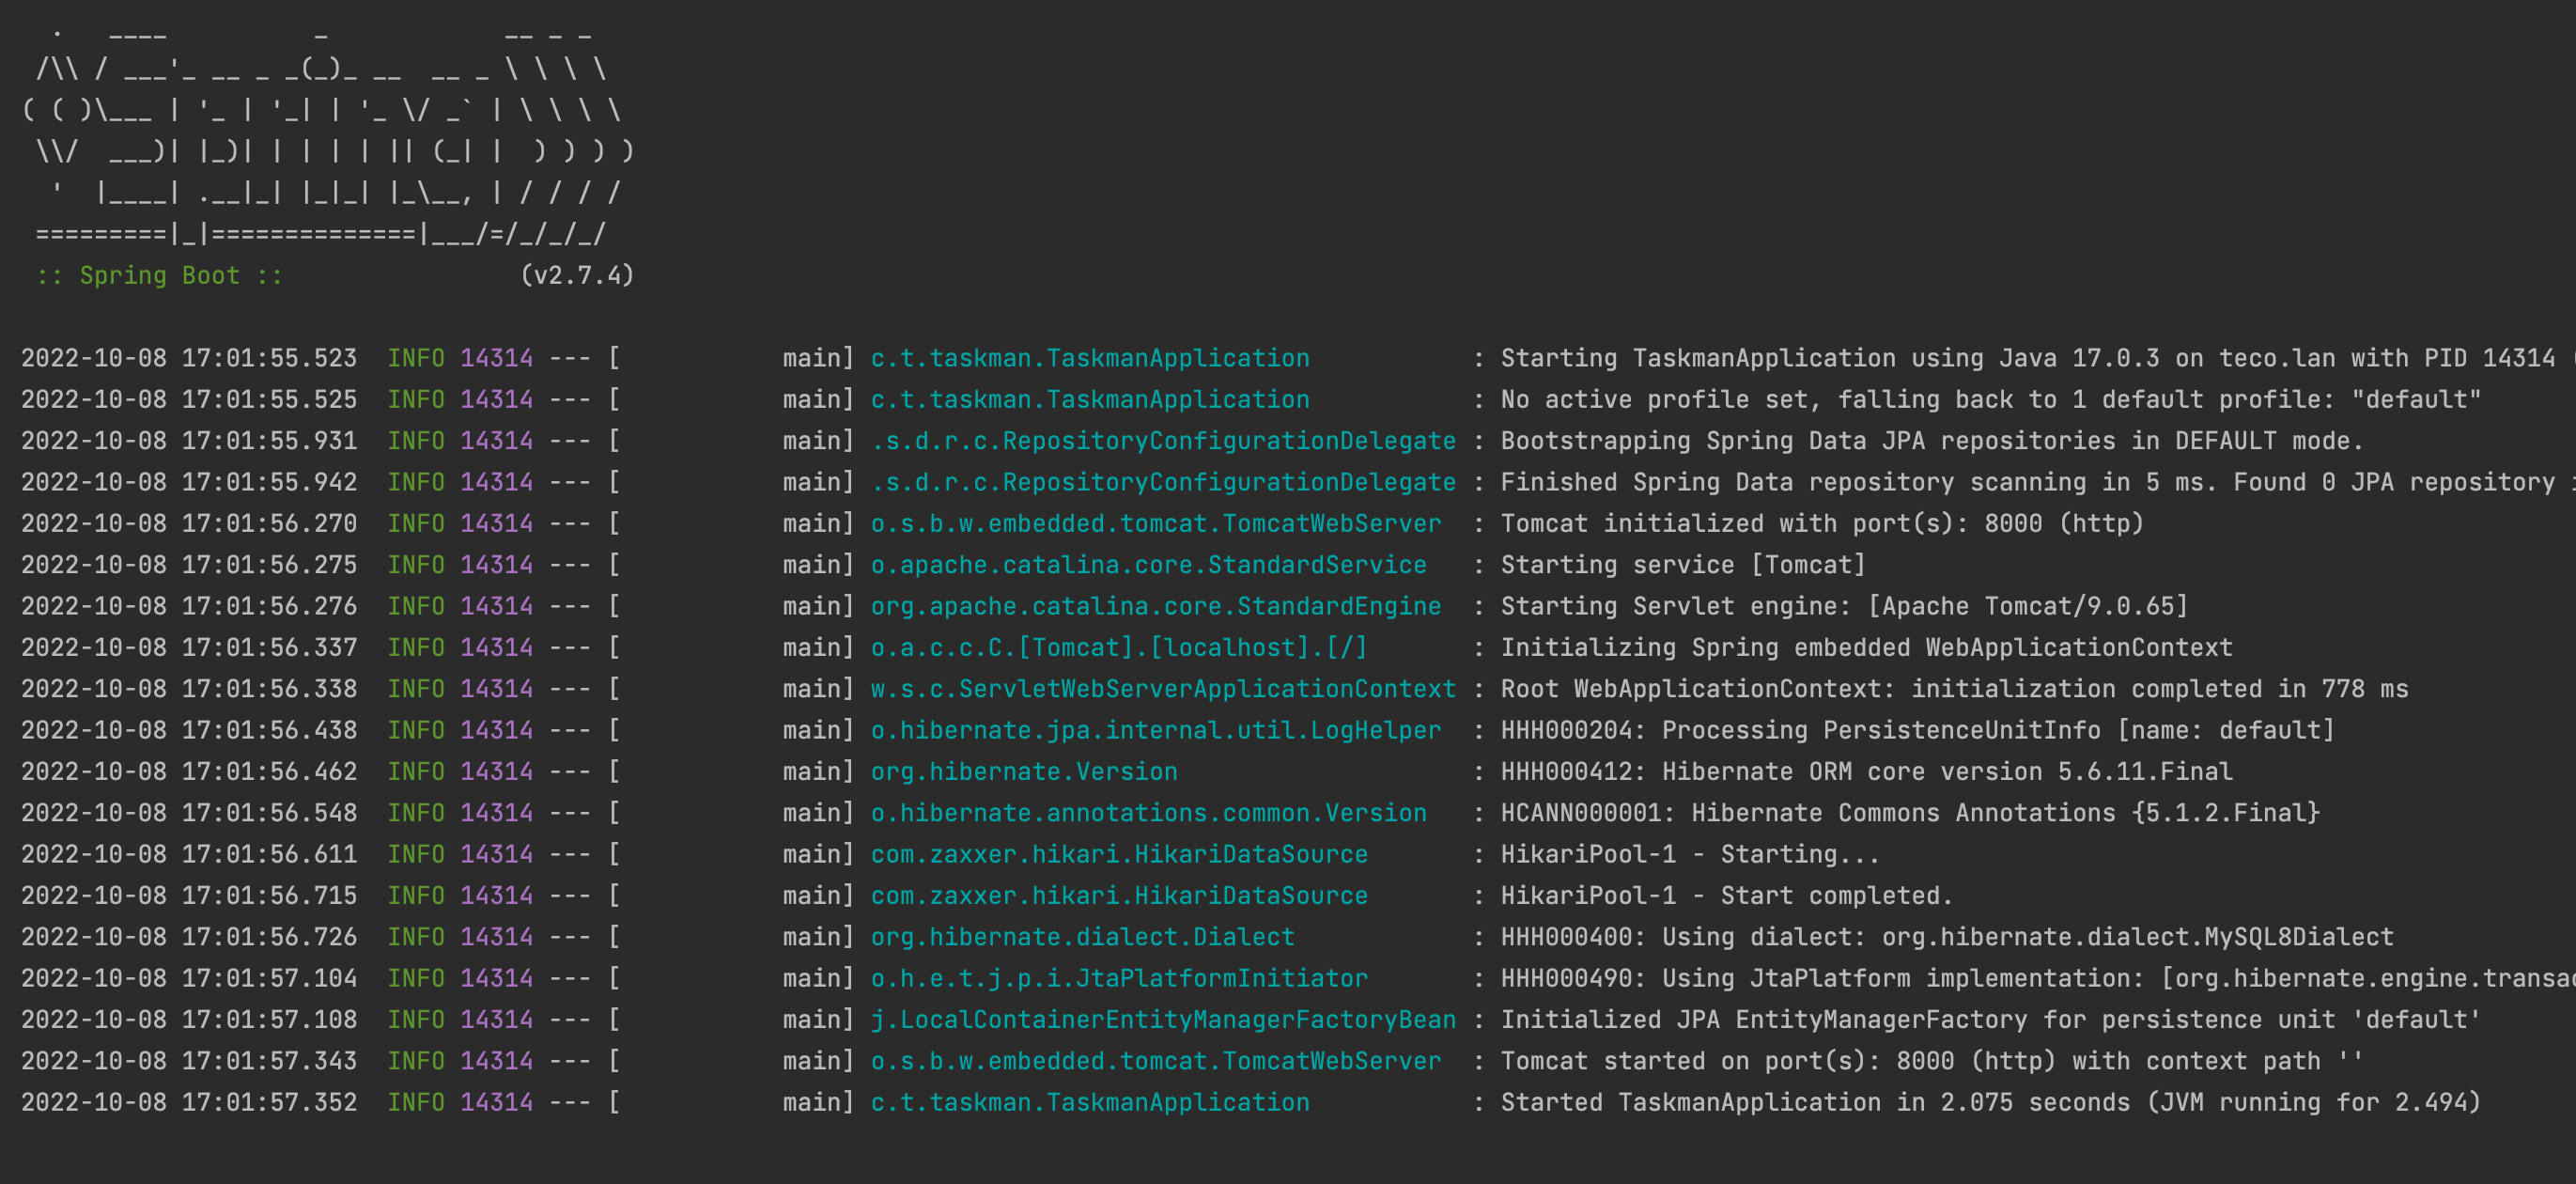
With Spring Boot, you can rapidly create RESTful web services thanks to its auto-configuration, built-in tools, and convention-over-configuration approach. It comes with embedded servers like Tomcat and Jetty, allowing developers to test APIs without the need for additional server setup. Moreover, Spring Boot’s support for various HTTP methods and easy dependency management makes it an ideal choice for creating RESTful APIs.
Step 1: Setting Up Your Environment
The first step in “Building RESTful APIs with Spring Boot” is to set up your development environment. Here are the steps to get you started:
Install Java
Spring Boot requires Java to work, so make sure you have Java Development Kit (JDK) installed. You can download Java 8 or later versions from Oracle or OpenJDK.
java -versionUse the above command to check if Java is already installed on your machine.
Set Up an IDE
To start “Building RESTful APIs with Spring Boot,” you also need a good Integrated Development Environment (IDE). The popular choices for Java development are:
- IntelliJ IDEA
- Spring Tool Suite (STS)
- Eclipse
These IDEs offer built-in support for Spring Boot projects.
Use Spring Initializr to Create a Project
The easiest way to start a new Spring Boot project is by using Spring Initializr. Spring Initializr is a web-based tool that allows you to create Spring Boot projects by providing project information and selecting dependencies.
Go to https://start.spring.io/ and select the following options:
- Project: Maven or Gradle
- Language: Java
- Spring Boot Version: Choose the latest stable version
- Dependencies: Add Spring Web
Once you fill in these options, generate the project, download it, and open it in your IDE.
Step 2: Building RESTful APIs with Spring Boot – Project Structure
Once you have generated and imported your Spring Boot project, you will notice the standard Maven or Gradle project structure. For building RESTful APIs with Spring Boot, our primary focus will be on the controller, service, and repository packages.
- Controller: Handles HTTP requests and responses.
- Service: Implements the business logic of your application.
- Repository: Manages data access, typically through JPA.
Step 3: Create a REST Controller
To begin “Building RESTful APIs with Spring Boot,” we first need to create a REST controller. A controller is the main class responsible for handling HTTP requests.
Create a class named UserController in your com.example.demo.controller package:
package com.example.demo.controller;

import org.springframework.web.bind.annotation.GetMapping;
import org.springframework.web.bind.annotation.RequestMapping;
import org.springframework.web.bind.annotation.RestController;
import java.util.List;
import java.util.Arrays;

@RestController
@RequestMapping("/api/users")
public class UserController {

    @GetMapping
    public List<String> getAllUsers() {
        return Arrays.asList("John Doe", "Jane Doe", "Alice", "Bob");
    }
}
In this example, we’ve created a simple REST endpoint using @RestController and @GetMapping annotations. The /api/users endpoint returns a list of user names.
Step 4: Creating a Service Layer
The next step in “Building RESTful APIs with Spring Boot” is to create a service layer. This layer contains the business logic, separating it from the controller.
Create a new package named service and a class named UserService:
package com.example.demo.service;

import org.springframework.stereotype.Service;
import java.util.List;
import java.util.Arrays;

@Service
public class UserService {

    public List<String> getUsers() {
        return Arrays.asList("John Doe", "Jane Doe", "Alice", "Bob");
    }
}
In this class, we defined a method getUsers() that returns a list of users.
Step 5: Inject Service into Controller
Now that we have a service layer, let’s update the controller to use UserService instead of directly returning the list of users.
package com.example.demo.controller;

import org.springframework.web.bind.annotation.GetMapping;
import org.springframework.web.bind.annotation.RequestMapping;
import org.springframework.web.bind.annotation.RestController;
import com.example.demo.service.UserService;
import java.util.List;

@RestController
@RequestMapping("/api/users")
public class UserController {

    private final UserService userService;

    public UserController(UserService userService) {
        this.userService = userService;
    }

    @GetMapping
    public List<String> getAllUsers() {
        return userService.getUsers();
    }
}
In the above code, we use constructor injection to inject UserService into UserController.
Step 6: Adding a Repository Layer
The repository layer is used for database operations. In our “Building RESTful APIs with Spring Boot” guide, let’s create a repository that interacts with the database to manage user data.
Create a package named repository and an interface UserRepository:
package com.example.demo.repository;

import com.example.demo.model.User;
import org.springframework.data.jpa.repository.JpaRepository;
import org.springframework.stereotype.Repository;

@Repository
public interface UserRepository extends JpaRepository<User, Long> {
}
In this example, we are extending JpaRepository, which provides methods to handle database operations like save, delete, and find.
Step 7: Creating a User Model
For “Building RESTful APIs with Spring Boot,” we need a model to represent user data.
Create a package named model and a class named User:
package com.example.demo.model;

import javax.persistence.Entity;
import javax.persistence.Id;
import javax.persistence.GeneratedValue;
import javax.persistence.GenerationType;

@Entity
public class User {

    @Id
    @GeneratedValue(strategy = GenerationType.IDENTITY)
    private Long id;
    private String name;
    private String email;

    // Getters and setters
    public Long getId() {
        return id;
    }

    public void setId(Long id) {
        this.id = id;
    }

    public String getName() {
        return name;
    }

    public void setName(String name) {
        this.name = name;
    }

    public String getEmail() {
        return email;
    }

    public void setEmail(String email) {
        this.email = email;
    }
}
This entity class represents the User table in the database.
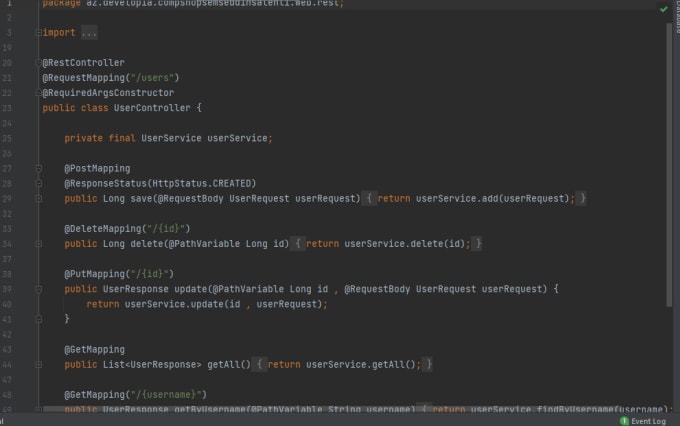
Step 8: Building RESTful Endpoints for CRUD Operations
For “Building RESTful APIs with Spring Boot,” let’s add CRUD (Create, Read, Update, Delete) operations to our UserController.
import org.springframework.web.bind.annotation.*;
import com.example.demo.model.User;
import com.example.demo.repository.UserRepository;
import java.util.List;
import java.util.Optional;

@RestController
@RequestMapping("/api/users")
public class UserController {

    private final UserRepository userRepository;

    public UserController(UserRepository userRepository) {
        this.userRepository = userRepository;
    }

    @GetMapping
    public List<User> getAllUsers() {
        return userRepository.findAll();
    }

    @GetMapping("/{id}")
    public Optional<User> getUserById(@PathVariable Long id) {
        return userRepository.findById(id);
    }

    @PostMapping
    public User createUser(@RequestBody User user) {
        return userRepository.save(user);
    }

    @PutMapping("/{id}")
    public User updateUser(@PathVariable Long id, @RequestBody User userDetails) {
        User user = userRepository.findById(id).orElseThrow();
        user.setName(userDetails.getName());
        user.setEmail(userDetails.getEmail());
        return userRepository.save(user);
    }

    @DeleteMapping("/{id}")
    public void deleteUser(@PathVariable Long id) {
        userRepository.deleteById(id);
    }
}
This code includes CRUD operations, allowing users to create, read, update, and delete User records.
Conclusion: Building RESTful APIs with Spring Boot
In this guide, we covered all the essential steps to start “Building RESTful APIs with Spring Boot.” From setting up the danatoto environment and creating a controller to adding a service and repository layer, we have walked through the entire process of building a robust RESTful API using Spring Boot. This powerful framework offers simplicity, flexibility, and rapid development capabilities, making it an ideal choice for developers looking to build modern web services.
Spring Boot’s opinionated approach, combined with its extensive ecosystem and tools, helps you focus on building the core functionality without getting bogged down by tedious configurations. With the skills you’ve learned in this step-by-step guide, you can now start building your own RESTful APIs to solve real-world problems and create scalable applications.

